recipe
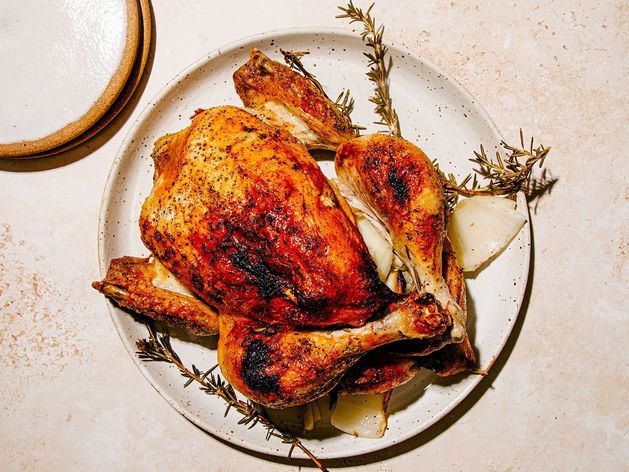
Classic Roasted Chicken
by Brava Chef Annie
Serving Size:
1
Total Time:
~00:00
About this Recipe
Classic Roasted Chicken is a must-have in a home cook’s repertoire. Here, we stuff the chicken with simple aromatics like garlic, onion, lemon and herbs before roasting. Just press the green button and let Brava do the rest. Serve while warm, or enjoy leftovers shredded up into salads, tamales, grain bowls, and sandwiches all week long.
Ingredients
- 1.0 whole chicken
- 4.0 count garlic cloves, peeled and smashed
- 1.0 yellow onion, quartered
- 1.0 lemon, quartered
- Few sprigs fresh thyme or rosemary (optional)
- ¼ cup olive oil
- 1¾ teaspoons kosher salt
- freshly cracked black pepper
Equipment
Brava metal tray
Brava TempSensor (optional)
cutting board
serving platter
Nutrition Information
Allergens: None
Instructions
-
1
Prep the chicken
- Pat chicken dry. Stuff chicken cavity with onion, lemon, garlic, and herbs, if using. Rub outside of chicken with olive oil, and season with kosher salt, being sure to season the inside of the cavity, too.
- Place chicken, breast side up, on the Brava Metal Tray, with the breast side pointing towards the left, and the legs pointing toward right side of tray.
-
2
Cook chicken
- Select “Classic Roasted Chicken” on your Brava touchscreen and follow instructions.
- After plugging in the TempSensor, insert it horizontally through thickest part of chicken breast toward breastbone. It’s okay if the TempSensor tip touches breastbone.
- Note: If using the Time-Based Cook option, you will not need to use the TempSensor.
- Slide metal tray into bottom shelf, press green button to begin cooking.
-
3
Finish & serve
- When chicken is done, carve on large cutting board and transfer to platter for serving.
- Serve with freshly cracked black pepper and lemon wedges if desired.